Configuring Arducopter
|
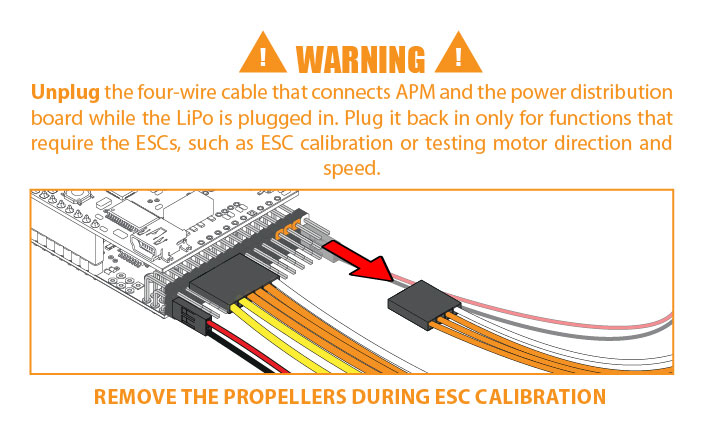
Warning: Before you configure your arducopter please make sure that you remove the PWM cable from your ArduPilot mega board. This is for your own safety, if the motors start spinning by accident they can cause serious damage
When you connect the motors (for some testing functions/calibration please make sure you are alert and take the relevant precautions like removing the propellers. Reset the board: This just clears the EEPROM and otherwise ensures a clean setup. In Mission Planner click the Terminal tab, type 'setup' & hit Enter, then type 'erase'. |
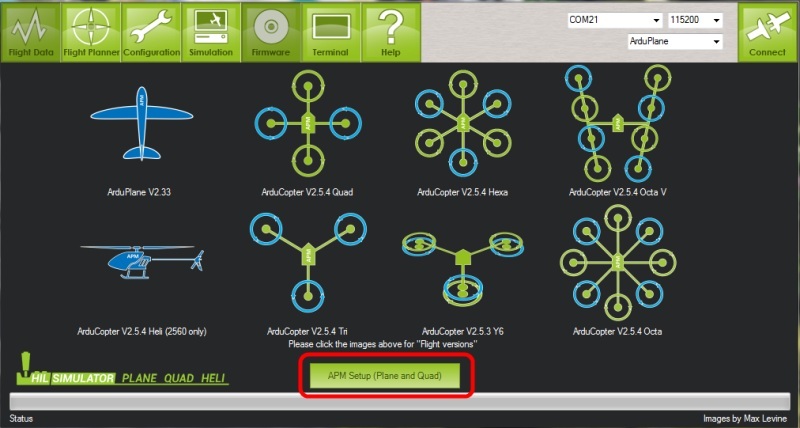
First Time SetupOnce you have loaded the firmware onto your board and connected everything, the next step is to run the First time setup. This is done with the mission planner that you installed earlier. On the mission planner make sure you have selected the correct COM port and baud rate 115200 (57600 if using xbee modules). Then you must go the the Firmware tab, and click on the APM setup button as shown in the image to the right.
|
1. Setup and Calibrate Radio TransmitterBefore you start calibrating your radio for Arducopter you will need to change some settings on the radio itself. Instructions for setting up the WFT07 transmitter are can be found here
Please refer the your Radio Transmitter radio manual. In general make sure your radio is set to Airplane/ fixed wing mode (helicopter mode uses mixing which is not required for Arducopter). |
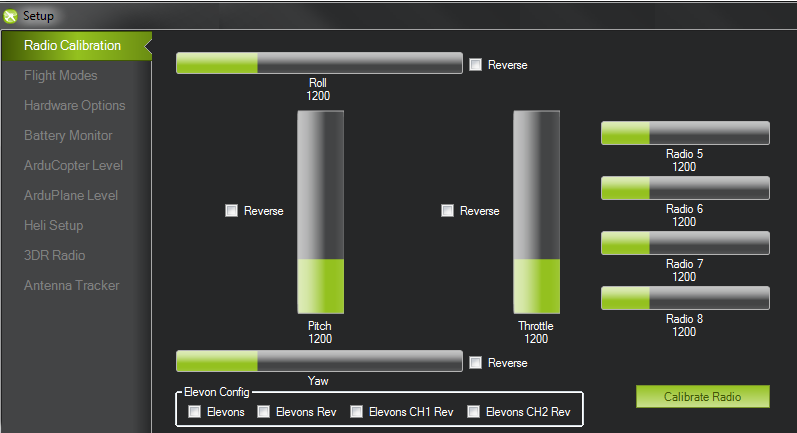
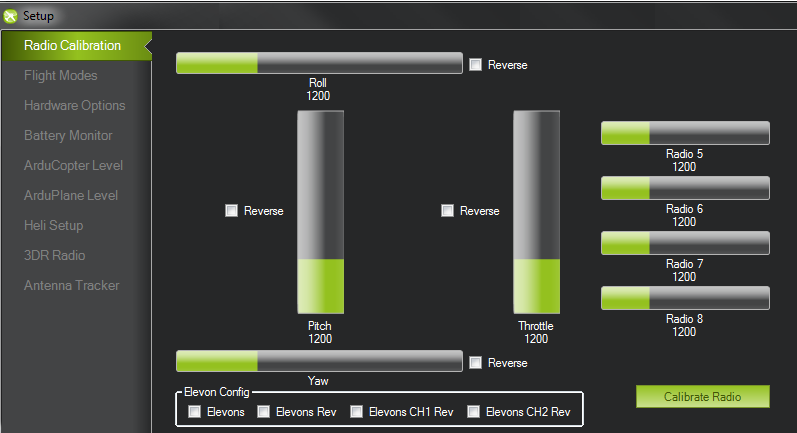
The first tab that will open will be the radio calibration screen. Please make sure that your reciever has power (via APM), and your transmitter is on. When you move the sticks on your transmitter you should see the green bars move accordingly. If they are not, please make sure your receiver has power. If you notice that any channels are reversed, you can either tick the reverse button on the planner, or change the settings on your radio (suggested)
|
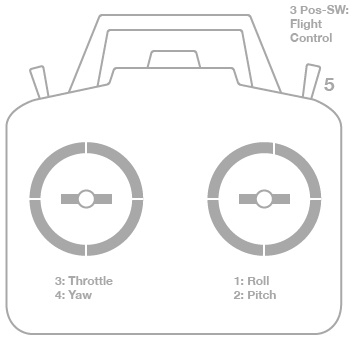
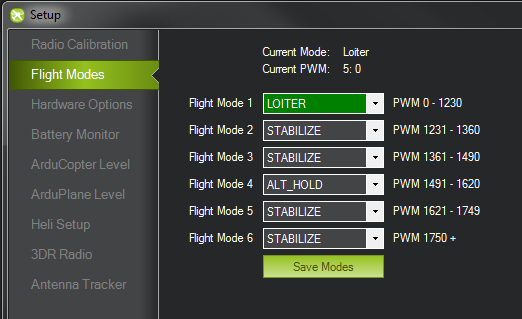
2. Choosing your Flight ModesYou can choose different flight modes that you can change while you are flying with your RC transmitter (channel 5). Some radios dont have a 6 position switch, so you may only be able to use 2 or 3 modes. If you mix some channels you can use more flight modes. Toggle your channel 5 switch to see which mode you are currently in (indicated by the green highlighted mode)
|
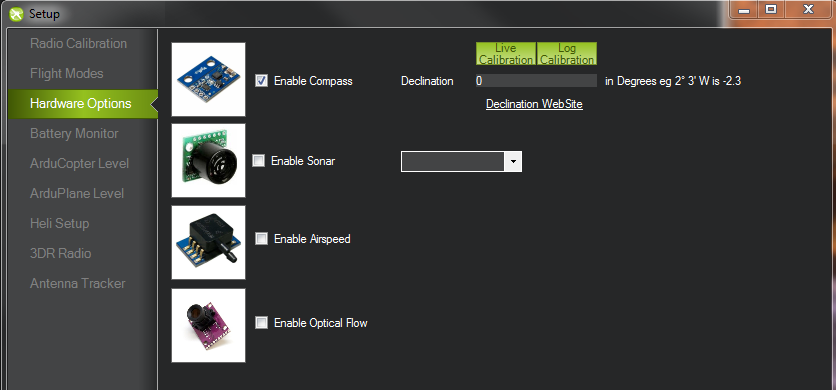
3. Configure additional hardwareWith Arducopter, you can use extra sensors like sonar, or an optical flow sensor. This screen allows you to enable them. Since the compass is build into Ardupilot mega v2, this is enabled and you will need to set the compass settings.
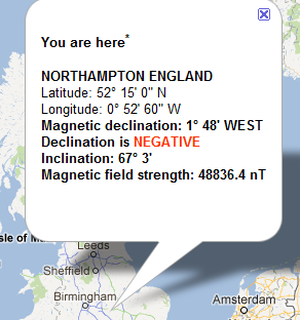
To manually enter a declination for your geographic location, you can find the correct value by clicking on the link to open a web browser. Enter your location and it will give you a declination, as shown above. For the example image, you would then enter a deglination of -1.48 in your mission planner.
|
For the magnetometer (compass), you have a choice of calibration options once you enable the sensor:
|
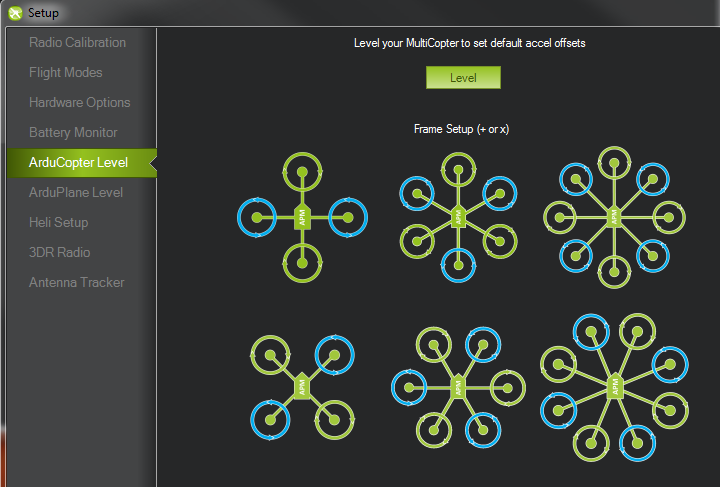
4. Choosing Frame OrientationThis screen allows you to set your Arducopter orientation. Before you start you must first Level your arudcopter. Make your your arducopter is on a level surface, and click the Level button to calibrate the sensors. Now you can choose between an X or + orientation of your frame by clicking on the image that is the same as your arducopter frame
|
5. Calibrating your ESC
There are two ways to calibrating your ESC's for Arducopter. An easy was and a longer, but better way.
|
Automatic ESC calibration
This method works once you have all the ESCs connected to the power distribution board and have connected all your RC cables as instructed earlier in the manual and otherwise set up your quad. Safety First! - Remove the props!
|
Manual ESC calibration
Make sure your transmitter end points are set at +100%/-100% if using a programmable transmitter. Safety First! Remove the prop from the motor you're calibrating.
|
Once you have calibrated your ESCs, you can test them by putting the APM slider switch in the FLY mode and plugging in your LiPo. Once APM boots up, arm your ESCs by pushing the yaw stick all the way to the right for at least four seconds. You can then give a small amount of throttle (stand clear of the props!). All motors should spin about same speed and they should start same time. If not you may need to try re-calibrating your ESC.
