
Installing Mission Planner Software
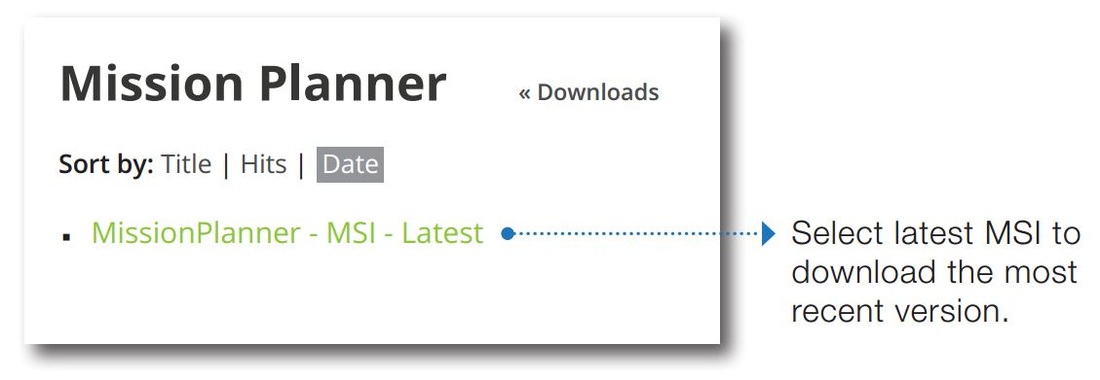
You can download the latest version of APM Mission planner here. You can also use the new Mission Planner 2.0 if you want to try the latest version (cross platform) but it's still in beta. Once downloaded, run the setup wizard and follow the installer. The installer will also install the required drivers so you may see a security warning.
|

|
Opening the Shell
You will need to open the shell if you want to install your own receiver or other gear.
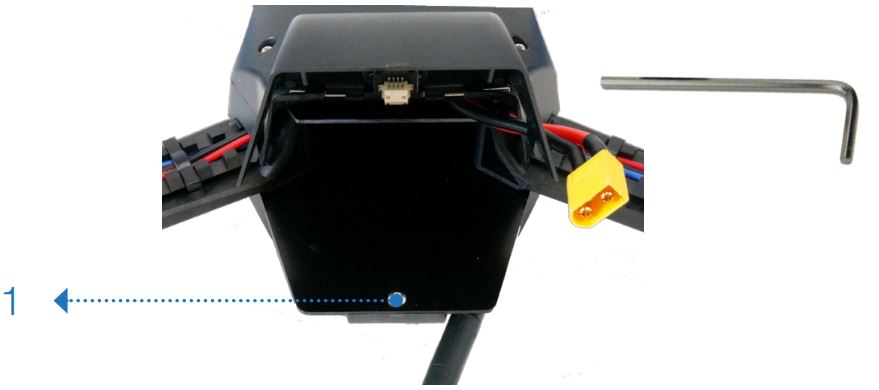
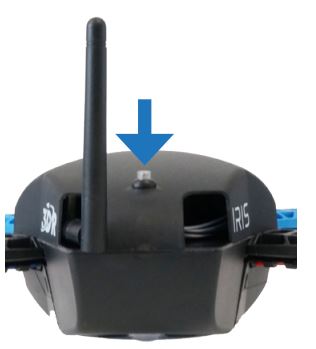
1. Place IRIS+ upside down, open the battery door, and remove the inside screw using the correct Allen key.
|

2. Remove the two deep-set screws on either side of camera mount.
|
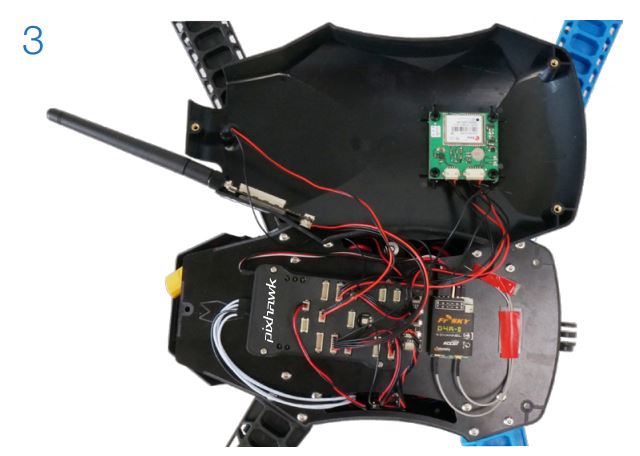
3. Holding the body together, flip IRIS+ over and open top shell.
|
Connecting an RC Receiver
The IRIS+ uses the Pixhawk autopilot which only supports PPM-compatible receivers. However, if you don't have a PPM receiver then it's no problem as you can connect your receiver to the PPM encoder.
|
1. Open the top shell (see instructions above).
2. Connect the PPM encoder to Pixhawk RC pins using the red, black and white three-wire cable. 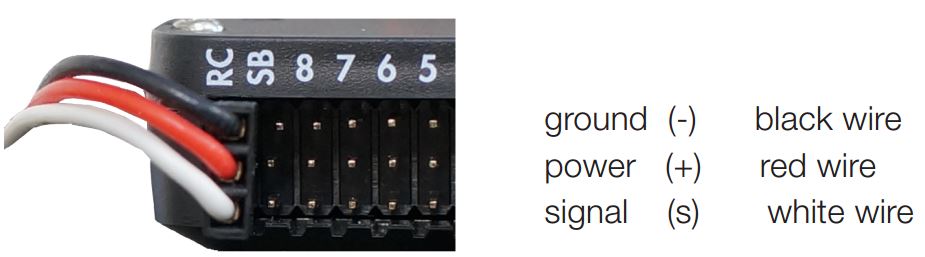
|
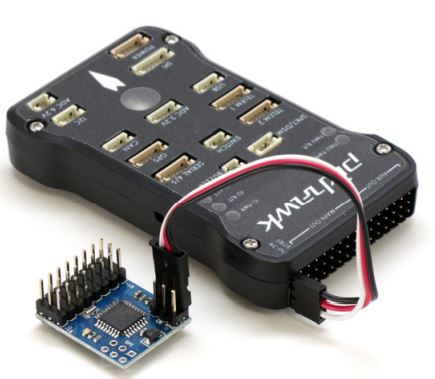
Pixhawk connected to the PPM encoder (blue board)
|
|
3. Connect your receiver’s channel pins to the PPM encoder.
|
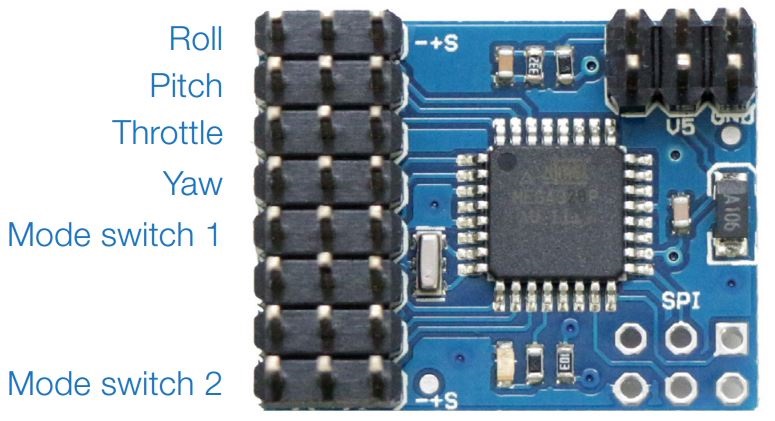
PPM encoder Pinout
|
RC Radio Calibration
After connecting your own RC receiver to IRIS+, you will need to complete transmitter calibration and flight mode setup using either Mission Planner or APM Planner. If you opted to receive an RC transmitter with IRIS+, this process has already been done for you
|
1. Connect the battery to IRIS+, and connect the IRIS+ USB port to your ground station computer. Turn on your RC transmitter.

Connect Iris Battery
|
2. Open Mission Planner or APM Planner. Select the communication port that displays PX4, set the Baud rate to 115200, select ArduCopter (if offered), and select Connect.
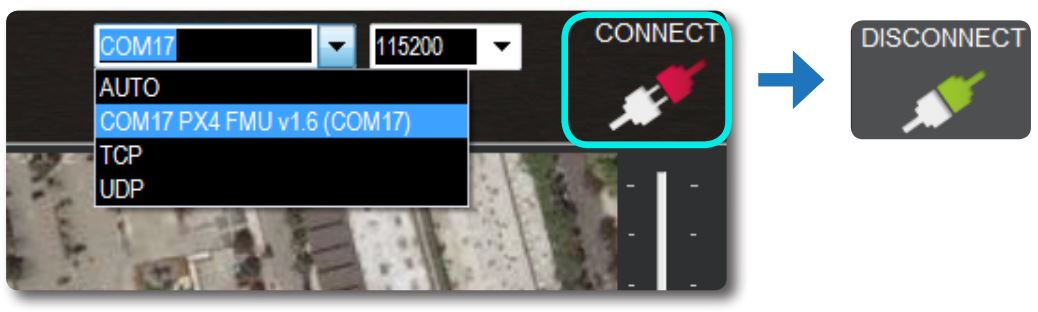
Select COM port and connect in mission planner
3. In the mission planner select Initial Setup -> Mandatory Hardware -> Radio Calibration, and press the calibrate radio button

|
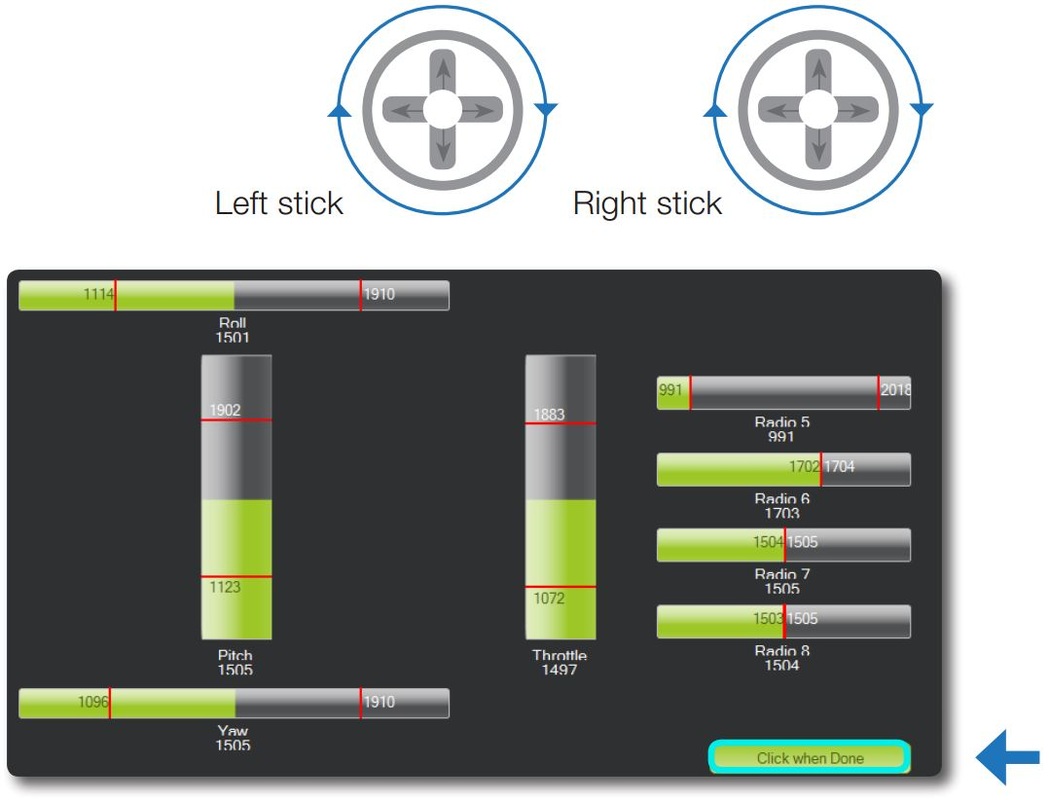
Radio Calibration Screen
|
On your transmitter, move both sticks and all mode switches to their extreme positions so the red bars register the limits of each input.
We recommend moving the sticks in the largest possible circle. Once the red lines show the limits for roll, pitch, throttle, yaw, and any mode switches, select Click when Done. Correct calibration values are between 800 - 1200 for the low limits and 1800 - 2200 for the high limits. |
|
4. Now you will need to set up the flight modes, to do this go to the Config/Tuning menu and select Flight Modes.
The currently selected position will display in the list with green highlighting. Set the flight modes as shown below. Select Save Modes to apply. |
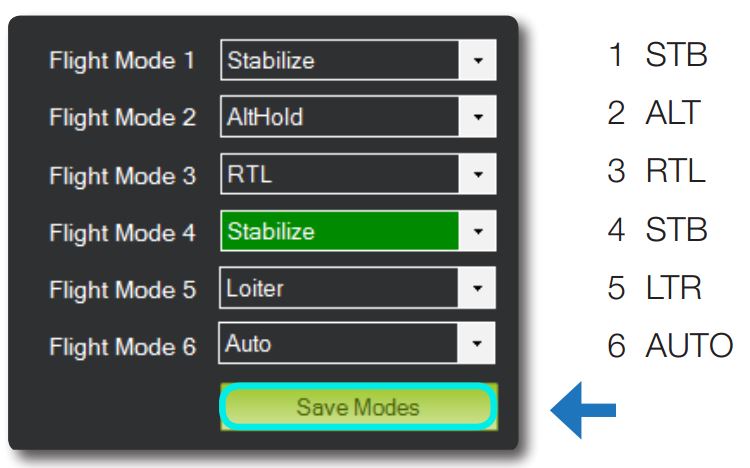
Setting the Iris flight modes
|
Updating IRIS+ Firmware
Firmware updates keep IRIS+ in sync with the latest developments and help improve flight performance. Update IRIS+ firmware using Mission Planner or APM Planner on your ground station computer.
|
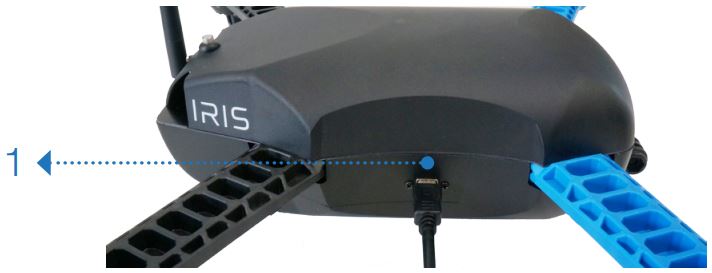
1. Connect IRIS+ to your ground station computer using the micro USB cable
|
|
|
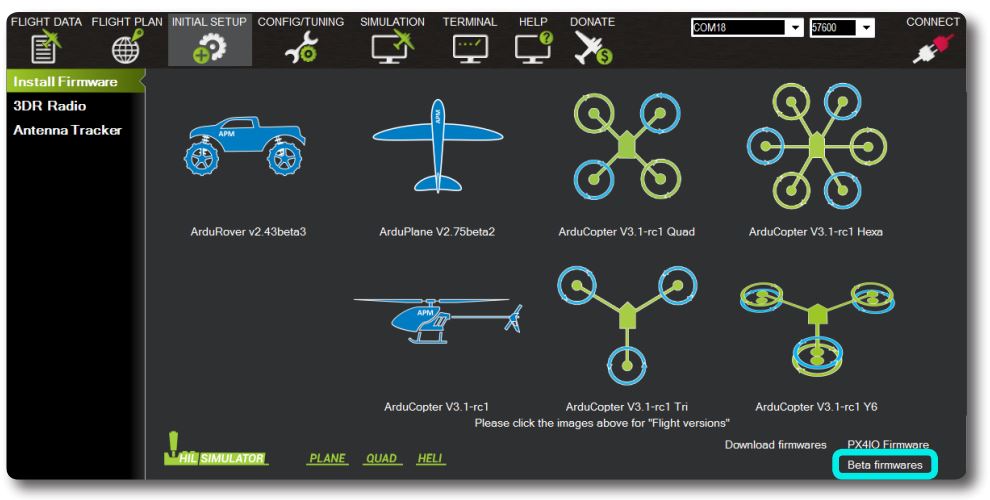
2. Select Initial Setup, Install Firmware, Beta Firmware.
Mission Planner must show that IRIS+ is disconnected to load firmware 
|
|
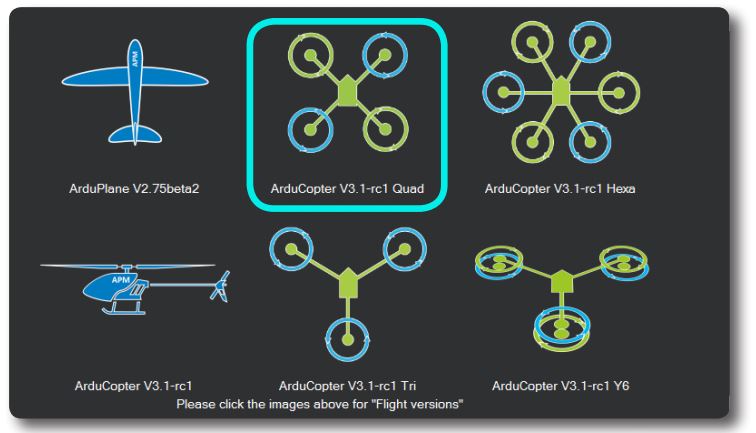
3. Select ArduCopter v3.1 rc Quad, and follow MissionPlanner instructions to install the firmware.
|
|
|
4. Power cycle IRIS+ by disconnecting and reconnecting the USB. Listen for the tone! If you hear a musical tone only, the update is complete. If you hear a tone sequence followed by three beeps, perform step 5 to complete the firmware update.
|
|
5. (Optional) Disconnect the USB. Press and hold the safety button while reconnecting the USB. You will hear several tone sequences followed by two beeps. This indicates your firmware has updated successfully.
|
|