

This guide will show you how to quickly install he required software for arducopter. Once the software is installed you will then load the firmware onto your arduopter flight controller board
This guide is now old and outdated, please see the new version here
1. Download and Install Mission Planner
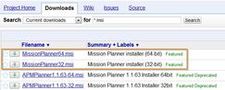 Click for larger image Click for larger image Go to the Arducopter Downloads page here. and download the latest version of the Mission planner installer. It will be called APMPlanner.msi, download the 32, or 64 bit version depending on which windows you are using. | 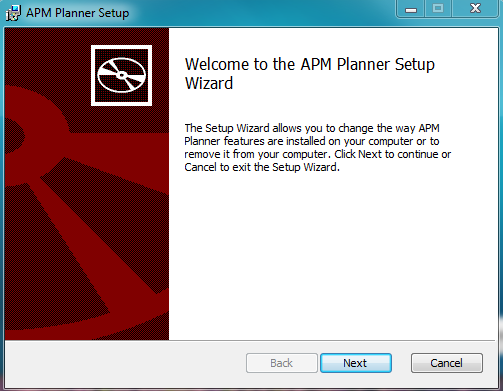 Click for larger image |
| Once you have downloaded the installer, run it and follow the on screen instructions. Please note that the mission planner installer will also install all of the system drivers required by arducopter, if any warning messages appear, please select "Install this driver software anyway" button | 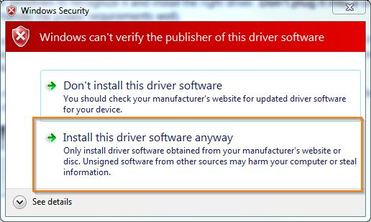 |
2. Connect ArduPilot to your computer and open Mission Planner
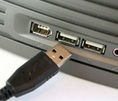 Once the install has completed, you can now plug in your ArduPilot Mega board to your computer. Wait a few moments while windows recognised and installs the drivers for the board. Dont connect your APM board via a USB HUB as it might not get enough power Now you can open the mission planner software, but do not click the connect button,you must first load the correct firmware. To do this click on the firmware icon as shown, and select the relevant code you want to load. In this case, load the Arducopter Code that is relevant to your frame. When you click on the relevant icon to load the code, a progress bar how the firmware update is progressing, you may also notice many lights flashing on your ardupilot board. Once the firmware has loaded the bar will be completely green.  The firmware upload status bar will be full once the arducopter firmware has been loaded onto your board | 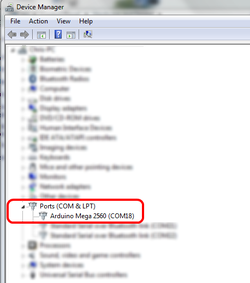 APM should now be recognized and show up in your Windows Device Manger (which you can find in the Windows Control Panel) 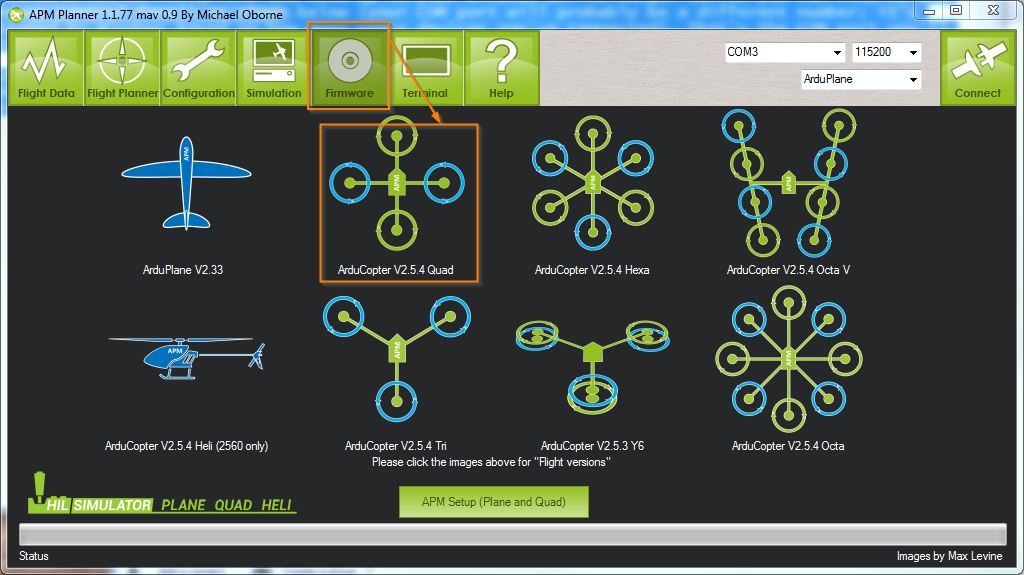 On the mission planner, go to the firmware tab to upload the arducopter firmware onto your board |
Congratulations, you have now loaded the latest firmware onto your ardupilot mega board. The next guide will show you how to connect everything on arducopter together.
If you have any questions or comments, please add them below.
If you have any questions or comments, please add them below.
 RSS Feed