

The Mission Planner, created by Michael Oborne, does a lot more than its name. Here are some of the features:
- Point-and-click waypoint entry, using Google Maps.
- Select mission commands from drop-down menus
- Download mission log files and analyze them
- Configure APM settings for your airframe
- Interface with a PC flight simulator to create a full hardware-in-the-loop UAV simulator.
- See the output from APM's serial terminal
If you haven't done so already, download the Mission Planner here (it will be called APM !Mission Planner x.x.xx.msi).
Mission Planner Overview
 Mission Planner Overview - click for large image | A few tips:
|
Guided Mode
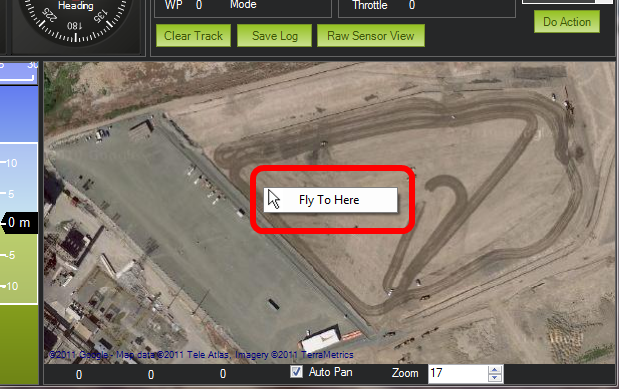 Arducopter Guided Mode |
|
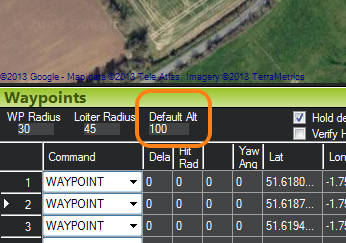
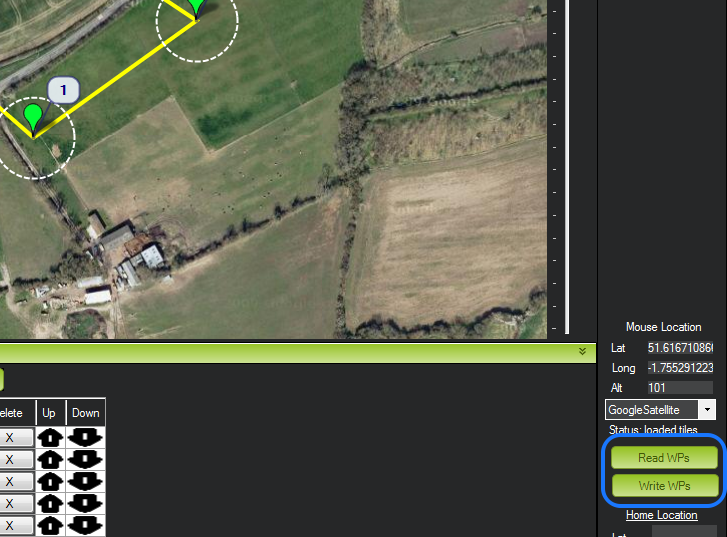
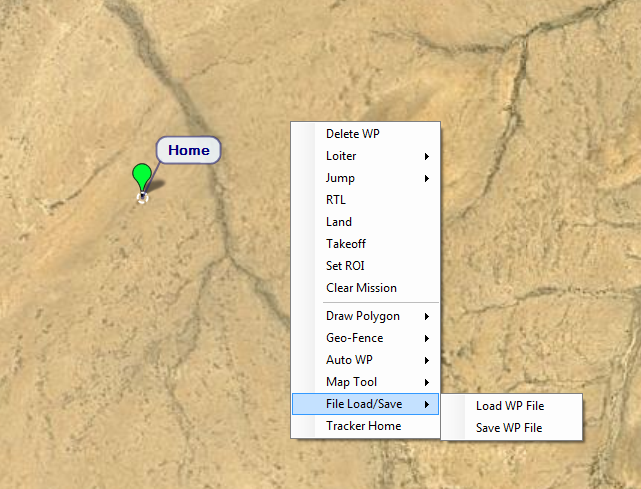
Planning A Mission
 You can plan missions on the Flight Planner Tab |
|
 |
|
 |
|
 |
|
 |
|
 |
|
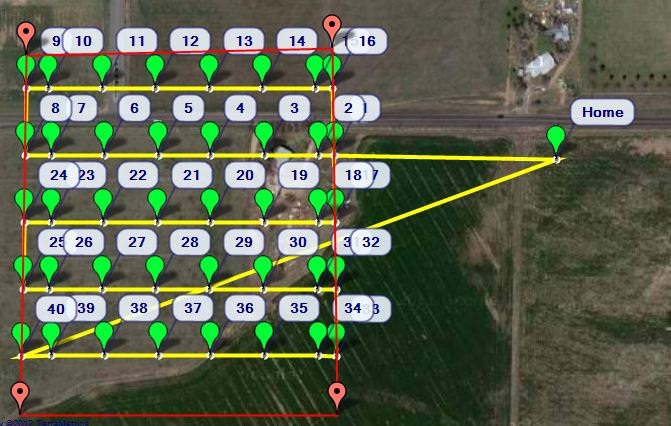
Auto Grid
 |
|
 RSS Feed