
ArduCopter allows you to fly with a computer joystick sending commands via 3DR radio rather than a regular RC system. To use it, you must have the following:
- Wireless telemetr ardupilot telemetry kit (3DR Radio or Xbee)
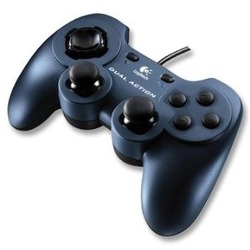
- A USB joystick or Gamepad
- A laptop computer running the mission planner software
 | The Mission Planner makes it easy to setup up your joystick/gamepad control. We recommend that you continue to have your RC gear connected, since it’s possible to lose the Xbee connection sometimes in flight and you’ll need to be able to fall back to regular RC control or switch to “hardware manual” in the case of an autopilot failure. However, in most cases you can use the joystick/gamepad for all manual flying, never touching the RC transmitter. To set it up, do the following: Once the controller is plugged in, just select “Joystick” (circled in red) and it will open a screen that will allow you to assign functions to different joystick/gamepad buttons. |
Instructions:
- Click “Auto Detect” and move the stick or button on your controller that you want to assign to that function.
- You can reverse any control direction by clicking the “Reverse” box.
- When you’re done, if you click “Enable”, the Mission Planner will start using the joystick/gamepad for manual control. All other functions will work as usual.
- You can add exponential control just like a RC transmitter by entering a value in the “Expo” field shown above.
- If you press “Save” your settings will be saved for future use.
- You can assign autopilot modes (Auto, RTL, Stabilize, etc) to the joystick/gamepad buttons, as shown above.
 RSS Feed