
This guide will show you how to assembly your SIXcopter Hexacopter frame.
Attaching the Motor Guards
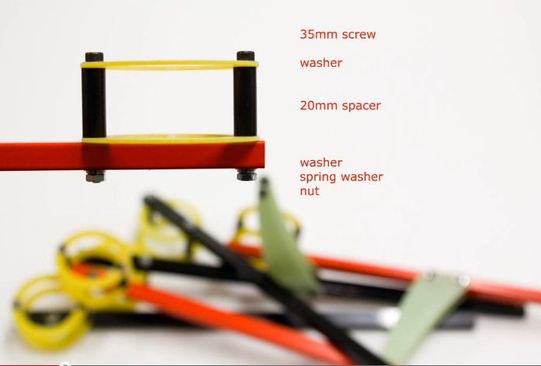
The first step is to attach the motor gaurds onto the aluminium arms of the Hexa Copter. You will use the M3x35mm screws, and 20mm spacers as shown in the image to the left.
Attaching the landing legs onto your Hexa Copter
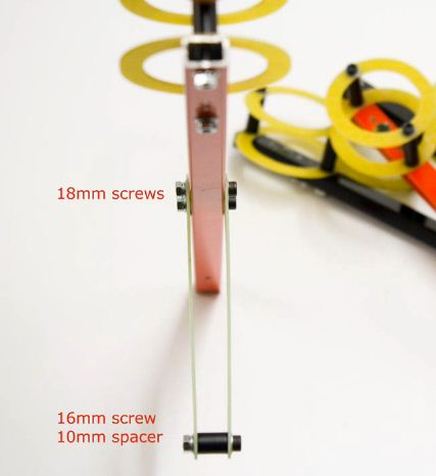
You will now need to mount the 3 landing legs onto the arms. This kit only contains 3 legs so choose which arms to mount them onto. We suggest you mount 2 legs onto the red arms, and 1 leg onto the black arm. The legs are mounted using the M3x18mm screws on the top of the leg to attach the legs to the arm. You will then use the M3x16mm screws with the 10mm spacers as shown in the image for the bottom of the leg. Remember to use the spring washers to make sure the screws do not vibrate loose.
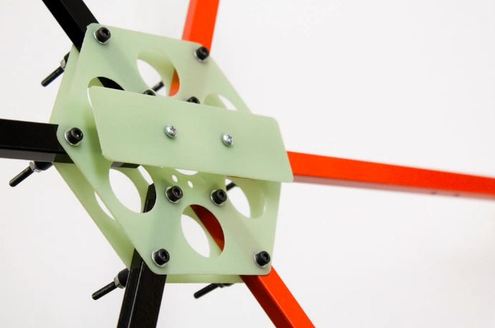
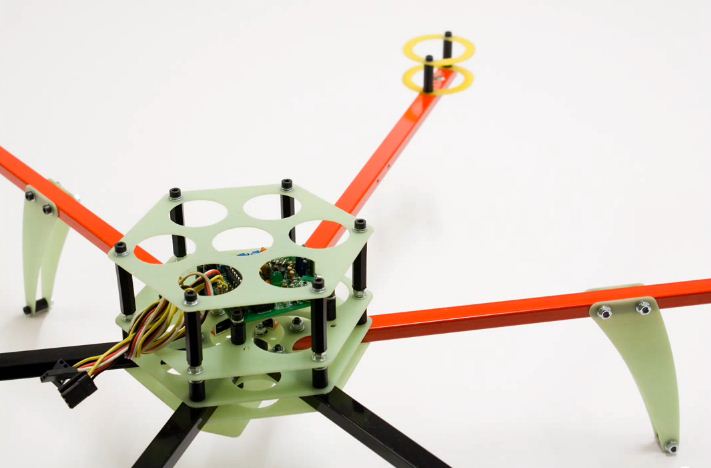
Building the Center Assembly

You will use the two main center plates to mount the arms. The aluminium arms go between the two plates and a screw is attached between the plates and the arms. You will need to use 16mm screws for the inner mounting holes of the central plate. Longer 40mm screws are used with 10mm spacers on the outer part of the main plates as shown.
Adding the Lipo Battery holder
The Lipo battery plate is simply connected using two screws and the 10mm spacers as shown in the image. Use two nuts to tighten them on the other side.
Bolts that attach lipo battery holder
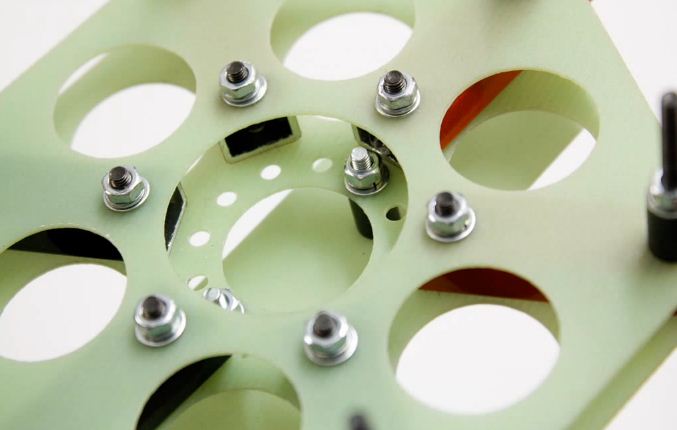
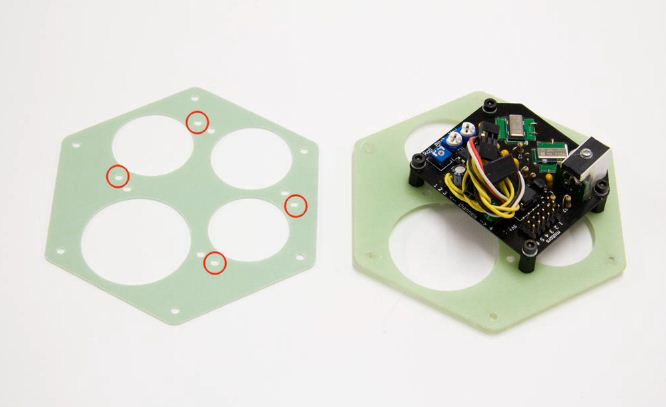
Attaching your Flight Controller board to the Hexa Copter
You can use any flight controller to control your Hexa Copter such as the KKmulticopter board, or the Arducopter autopilot. There are multiple mounting holes for many different flight controllers. however if you are using a controller that does not have the correct mounting holes you can simply attach it using double sided tape, or by drilling your own holes into the blank mounting plate as shown in the image to the right, below.
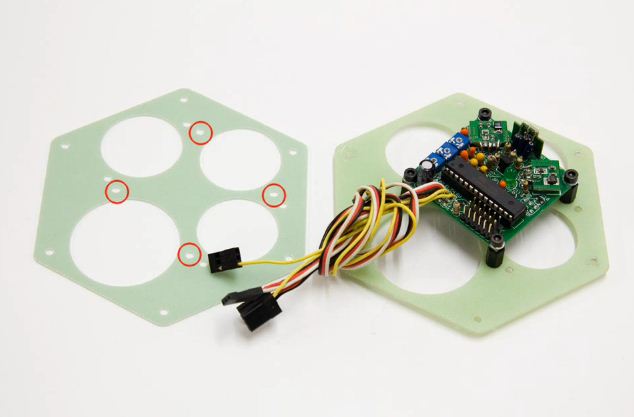

Protecting your Flight Controller
Once you have added your flight controller mounting plate onto the Hexa Copter, the last step is to add the long spacers to the frame as shown and attach the final plate on the top to make sure your electronics are protected in the event of a crash.
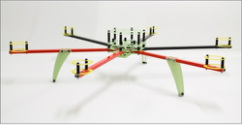
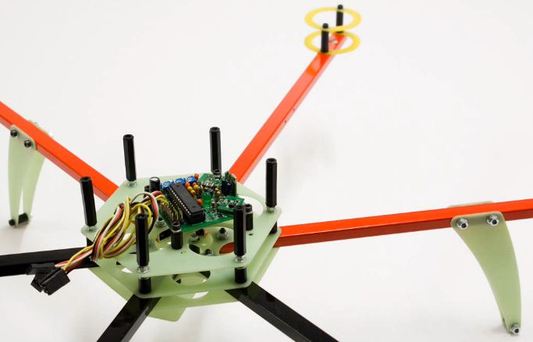
Complete SIXcopter Hexa Copter frame
Now you can simply add your motors and ESC and you are ready for your first flight. If you have any questions or suggestions please post a comment below.
 RSS Feed