
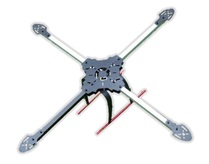
This will guide will walk you through the assembly process of the X600 Quadcopter frame.
The X600 quadcopter frame is an affordable quadframe that is great for anyone starting out, or for someone who wants a great test platform for trying new moves, or custom code.
The X600 quadcopter frame is an affordable quadframe that is great for anyone starting out, or for someone who wants a great test platform for trying new moves, or custom code.
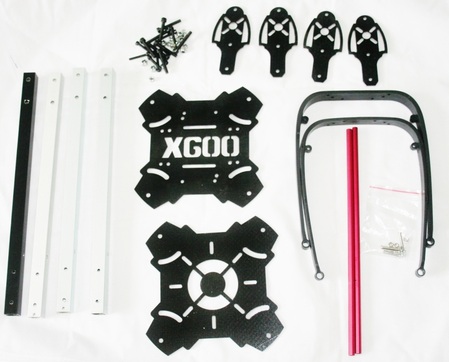
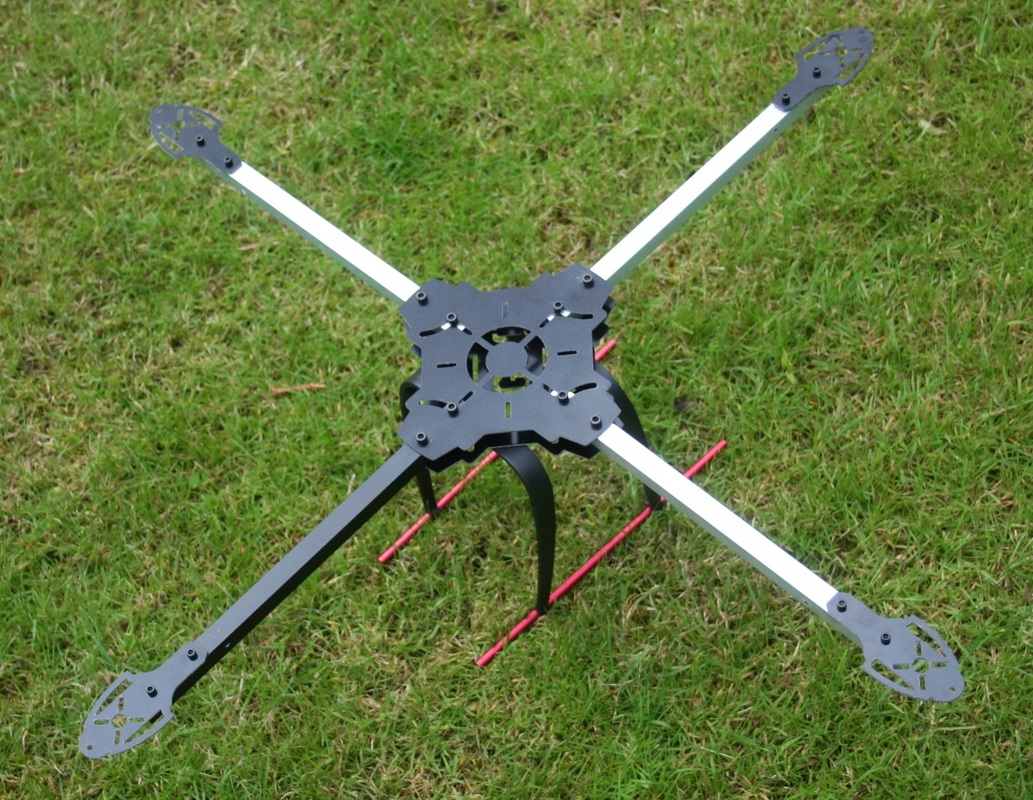
Parts that you will get with your X600 frame including the high-rise landing gear
1 - attach the landing legs to the central quadcopter plate
| The first step to build the X600 Quadcopter is to attach the legs onto the frame. To do this take the bottom plate that has X600 cut out of it, and using the small nuts and bolts included with the landing legs, attach them to the legs as shown. 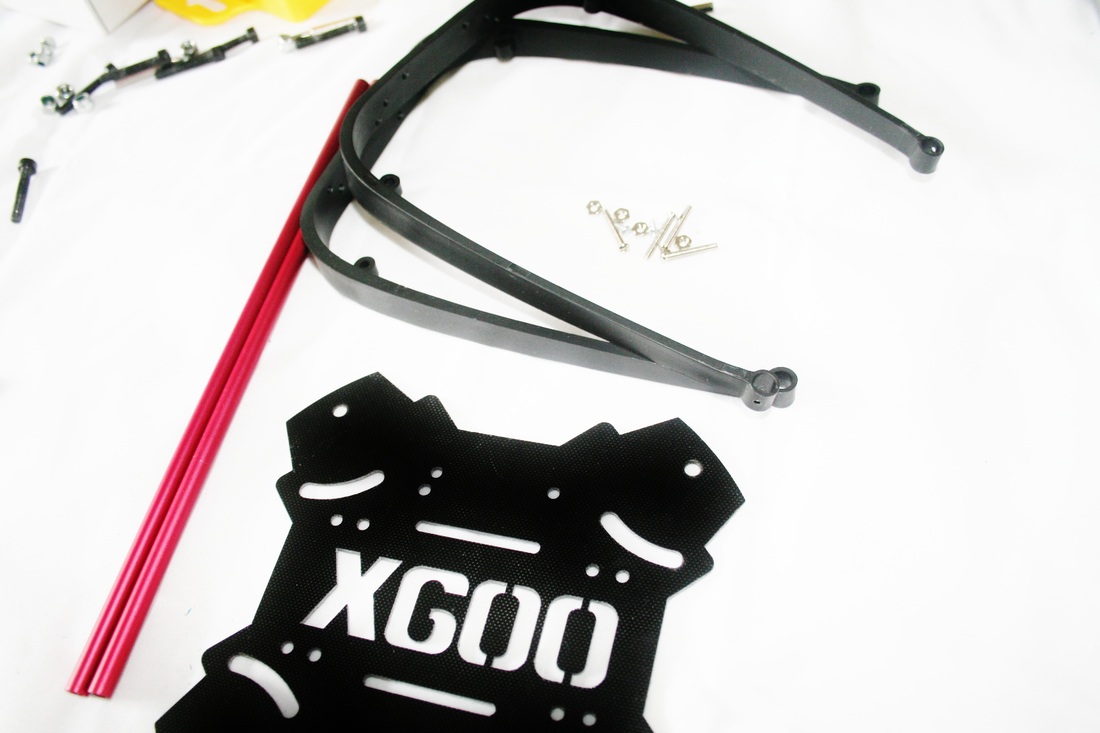 X600 landing legs | 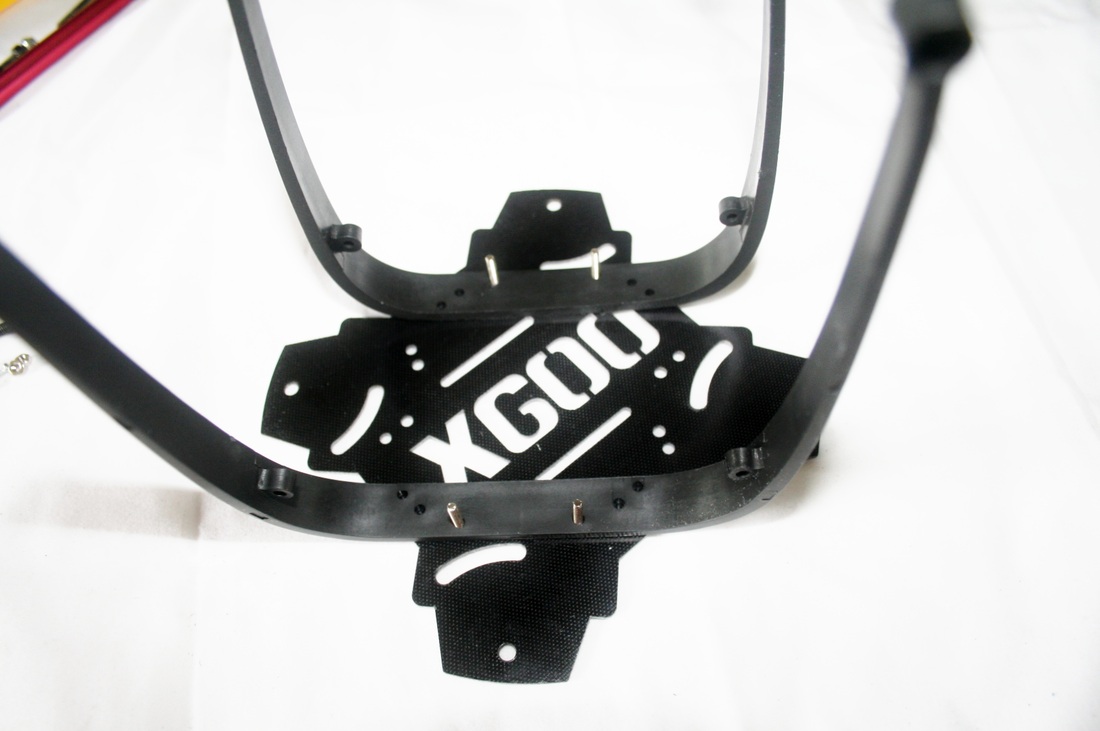 Make sure the bolts stick out of the bottom of the frame as shown, so that you can attach extras such as a camera gimbal at a later stage. |
| Once the legs have been attached to the quadcopter plate, you will now need to add the landing leg tubes. The important thing to remember is that there are small holes that need to be aligned for each tube so they dont come loose during flight. 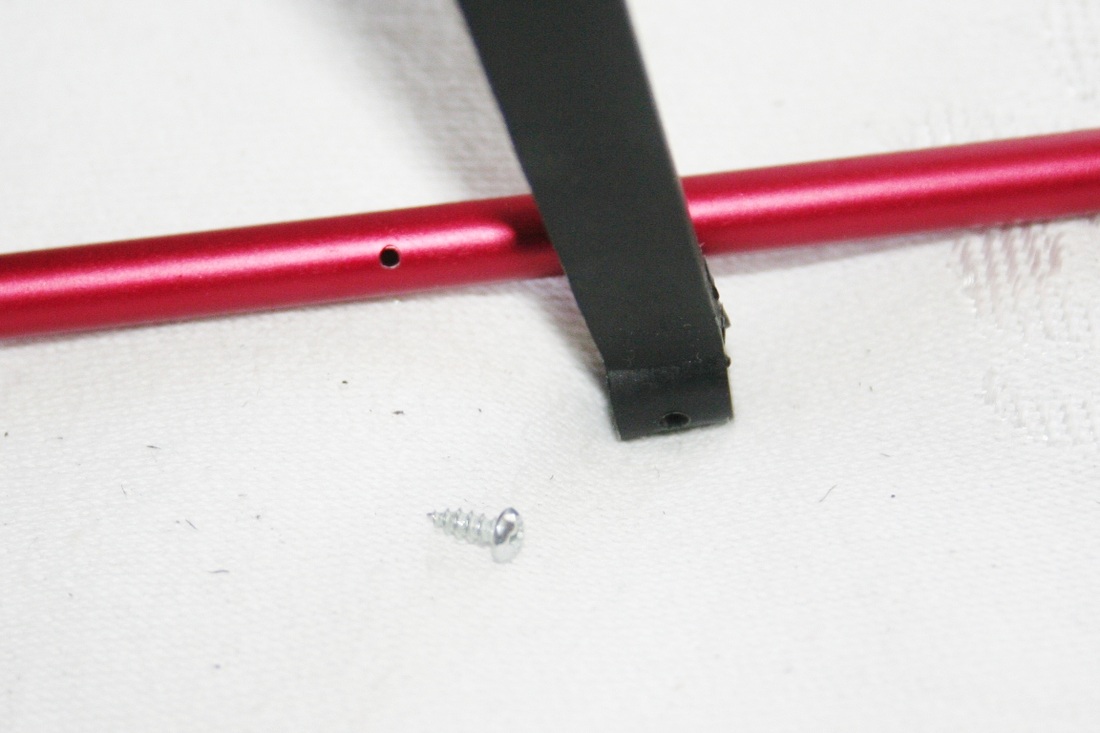 | 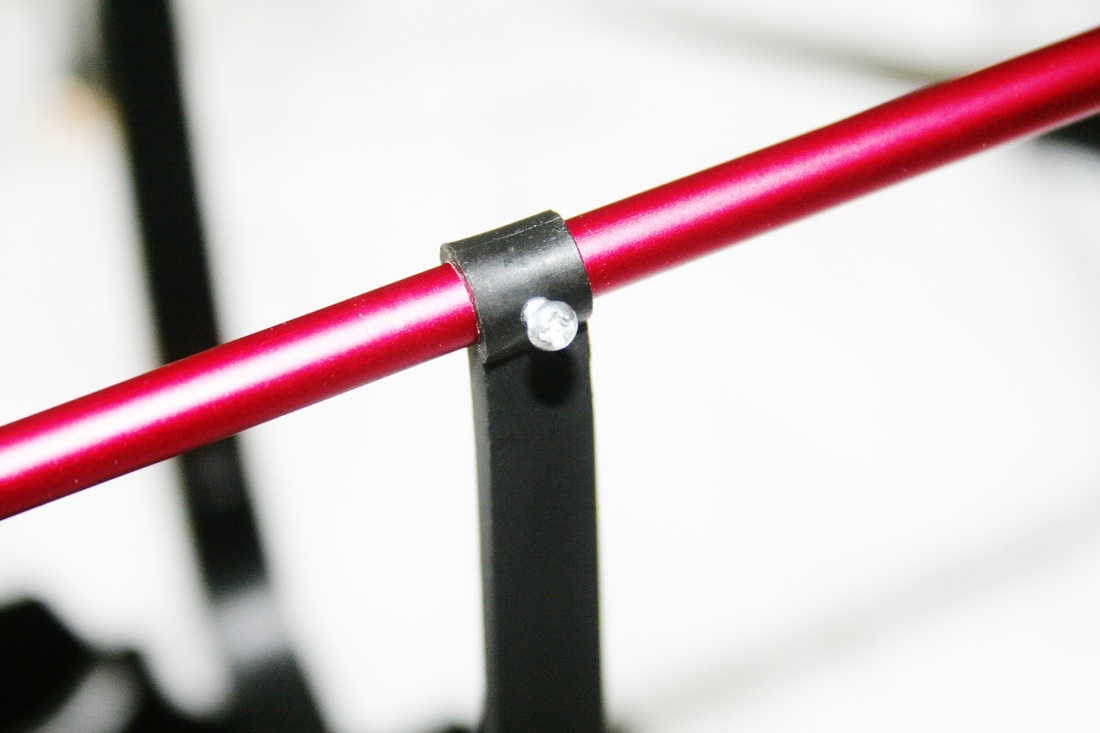 |
2 - Attaching the motor mounts to the arms
| Important: There are two different size bolts that you can use. The smaller bolts are used for the motor mounts, and the largers ones are used to mount the arms onto the frame. 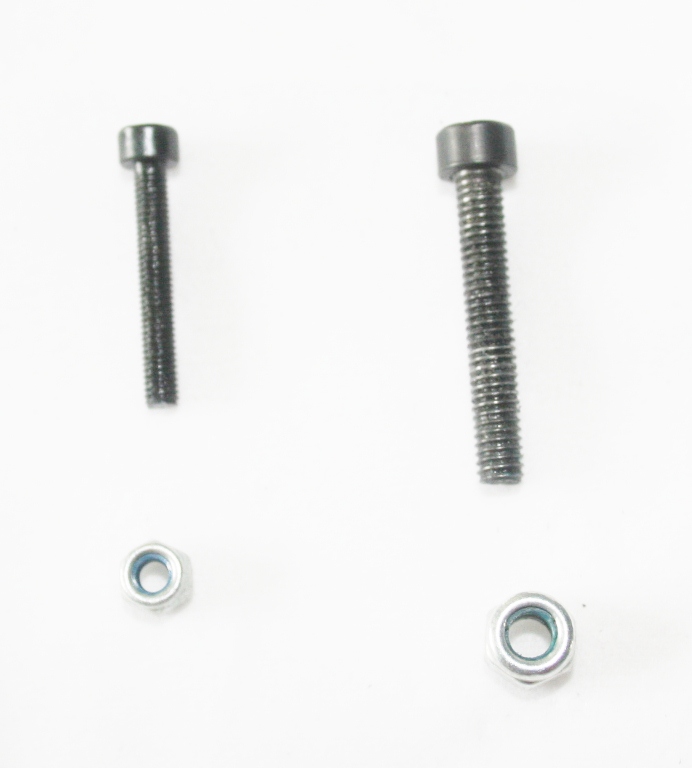 | 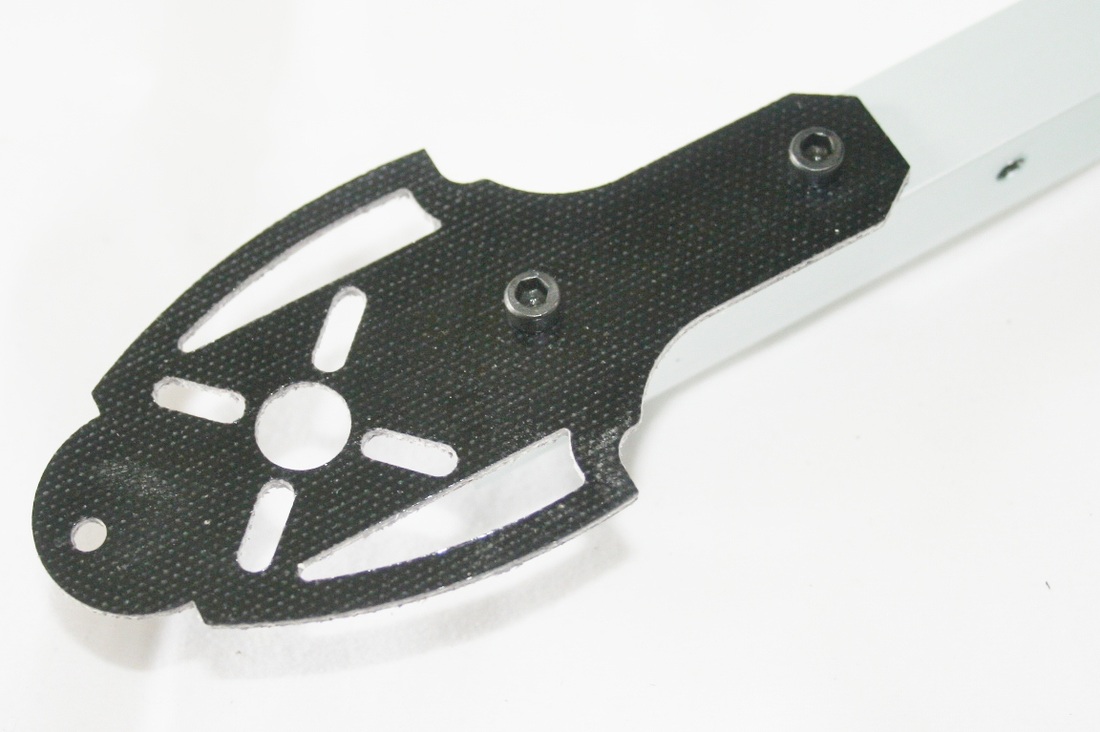 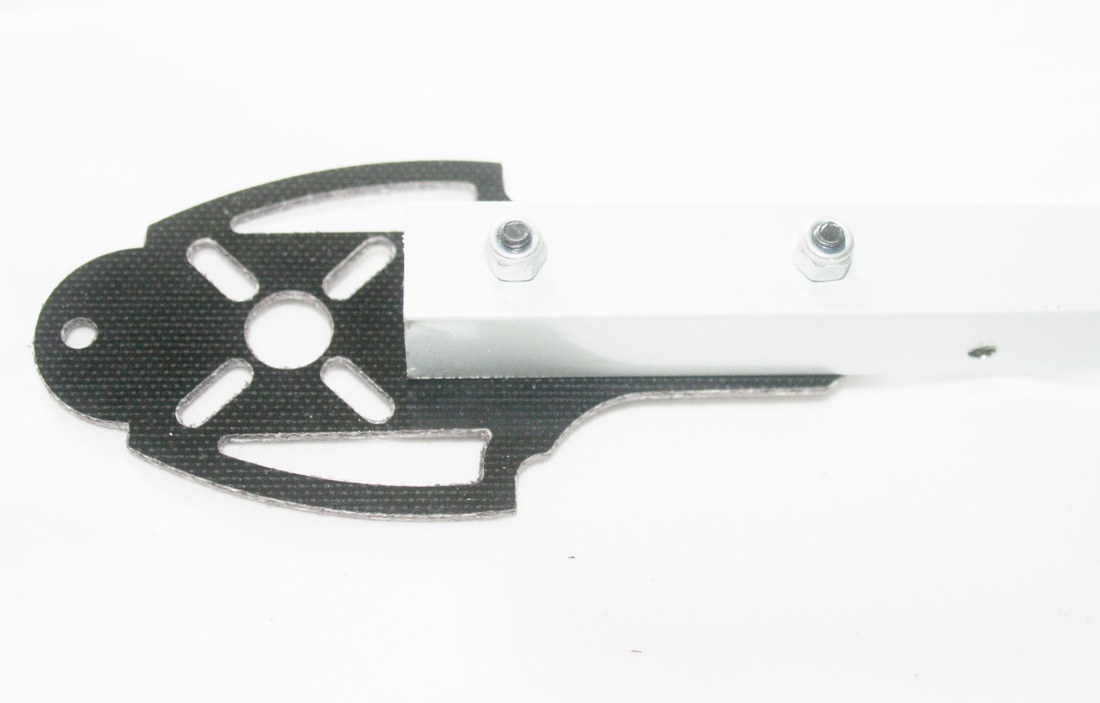 |
3 - Mounting motors to your quadcopter
| Its a good idea to mount your motors to the arms now so that you can easily feed the cables through the arms. Simply mount your brushless motor onto the motor mounts as shown. You should be able to use the mounting screws that were included with your motor. Also make sure to feed your motor wires through the arm as shown below. 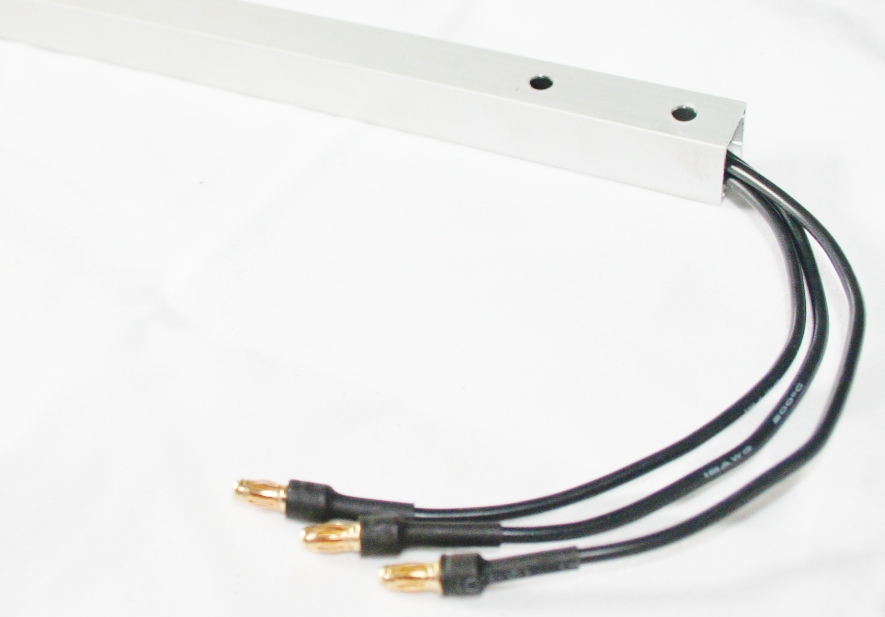 | 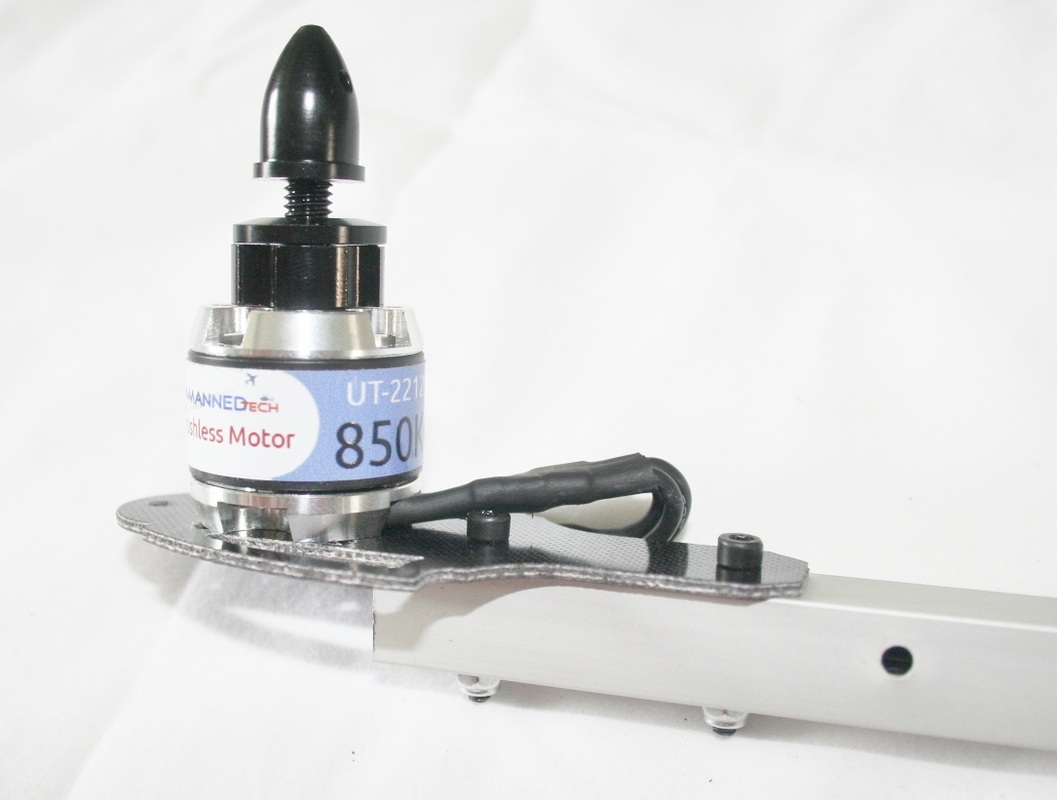 If your motor does not have long wires to pass through the arm, Unmanned Tech have some Motor Extension Wires for you to purchase. |
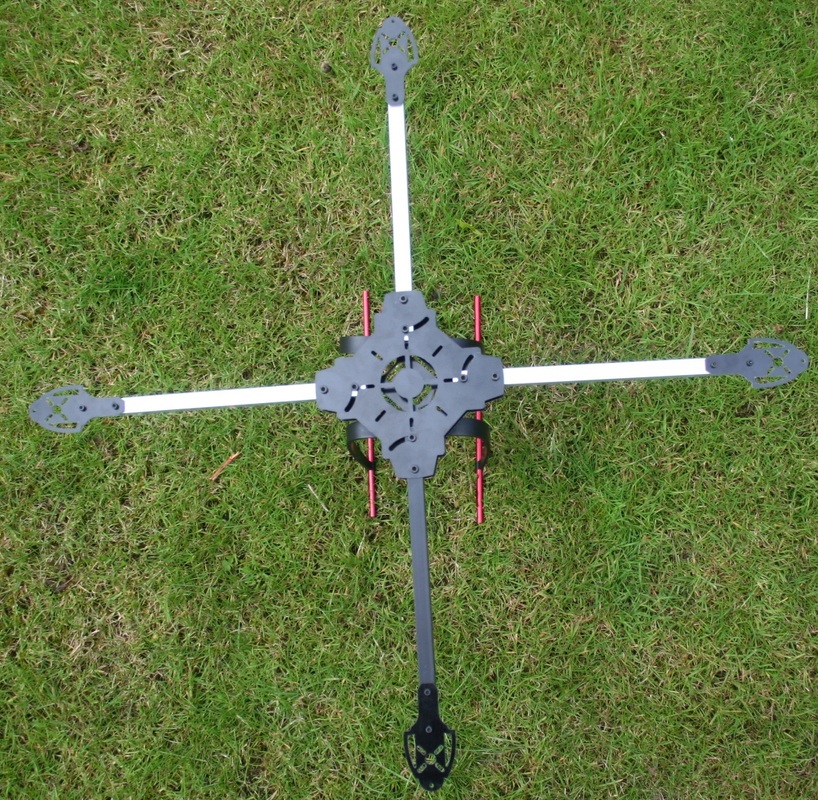
4 - mounting the quadcopter arms to the frame
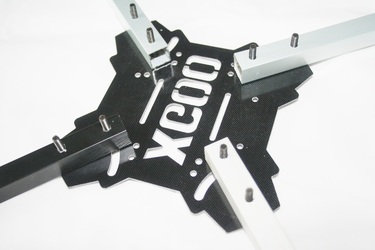
Simply mount the arms onto your quadcopter frame using the remaining bolts and lock nuts. Remember to attach your PDB onto the central plate before securing the top plate onto the frame

Congratulations, your frame is now complete! Good luck with your first flight. If you have any questions please add a comment below. If you have a flight video be sure to share it with us too.
 RSS Feed